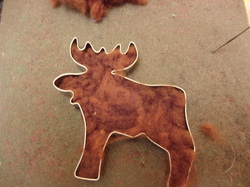
Needle felting with cookie cutter
 Fluffy wool, needle, moose |
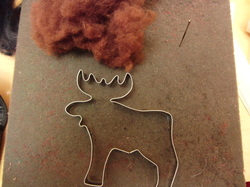
 Fill up the cookie cutter with the wool
and start 'needling'. |
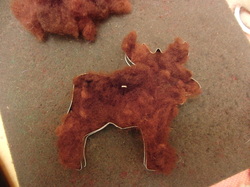
 Keep needling, take care with the nooks and crannies,.
Fill up with more wool if needed.
It needs to be thick enough to hold
its shape. |
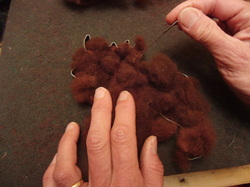
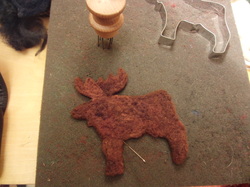
 Turn it over.
The backside is fluffed up by the
needling from the front and it might stick a bit to the foam.
Keep needling and turning the moose
over a couple of times. |
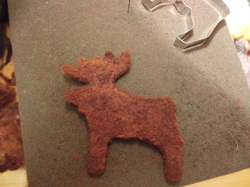
 When the moose is stiff enough to handle, you can take it out of the cutter and start defining the
contour. |
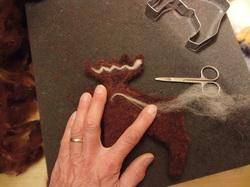
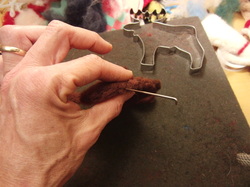 You can needle the contour between
your fingers to make a more defined
edge. |
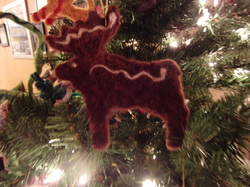 It's ready for the tree. |